Jack
2023-07-02
Building a Next.js and PicoCSS Blog: A Beginner's Guide - Part 2
Where we left off
In the previous part of this guide, we created a new Next.js project and statically generated a page with some content using a Markdown file.
In this part, we will add a navigation bar and a footer to the website. We will also dynamically generate the navigation bar based on the Markdown files in the src/app/_posts folder. We will also convert the Markdown content to HTML and add some styling to the website.
Step 1: Add a Navigation Bar & Posts Page
We will start by adding a navigation bar to the website. We will use the PicoCSS CSS framework. This is a classless CSS framework, which means that it does not use any class names. Instead, it uses HTML tags and attributes to style the elements. We just scoop the nav example and apply it to our layout
To add the navbar, we will edit the app/layout.tsx file so that the navbar is displayed on every page of the website since its the root layout.
// src/app/layout.tsx
import Link from "next/link"

...

return (
  <html lang="en">
    <body>
      <div className="container">
        <nav>
          <ul>
            <li>
              <Link href="/">
                <strong>My MD Blog</strong>
              </Link>
            </li>
          </ul>
          <ul>
            <li>
              <Link href="/posts">Posts</Link>
            </li>
          </ul>
        </nav>
      </div>
      <main>{children}</main>
    </body>
  </html>
)
Note that the href is pointing to /posts. Currently this page does not exist, so we will create it.
Remember, in NextJS, the urls of pages are based on the file structure. So, the app/posts/page.tsx page will be available at the /posts url.
// src/app/posts/page.tsx
export default function Posts() {
  return (
    <>
      <div className="container">
        <h1>Posts</h1>
      </div>
    </>
  )
}
Step 2: Populate the Posts Page
Now that we have a page to display the posts, we need to populate it with the posts. We will do this by dynamically generating the posts list based on the Markdown files in the src/app/_posts folder.
First we will add a getMarkdownFiles function in the lib/mdHandler.ts and then we will dynamically populate the Posts page.
// src/lib/mdHandler.ts
...
export function getMarkdownFiles(dir: string) {
  // filter .md files in the directory
  const files = fs.readdirSync(dir).filter((file) => file.endsWith(".md"))

  return files
}
// src/app/posts/page.tsx
import { getMarkdownFiles } from "@/lib/mdHandler"

export default function Posts() {
  const mdFiles = getMarkdownFiles("src/app/_posts")

  return (
    <>
      <div className="container">
        <h1>Posts</h1>
        <ul>
          {mdFiles.map((file) => (
            <li key={file}>
              <a href={`/posts/${file}`}>{file}</a>
            </li>
          ))}
        </ul>
      </div>
    </>
  )
}
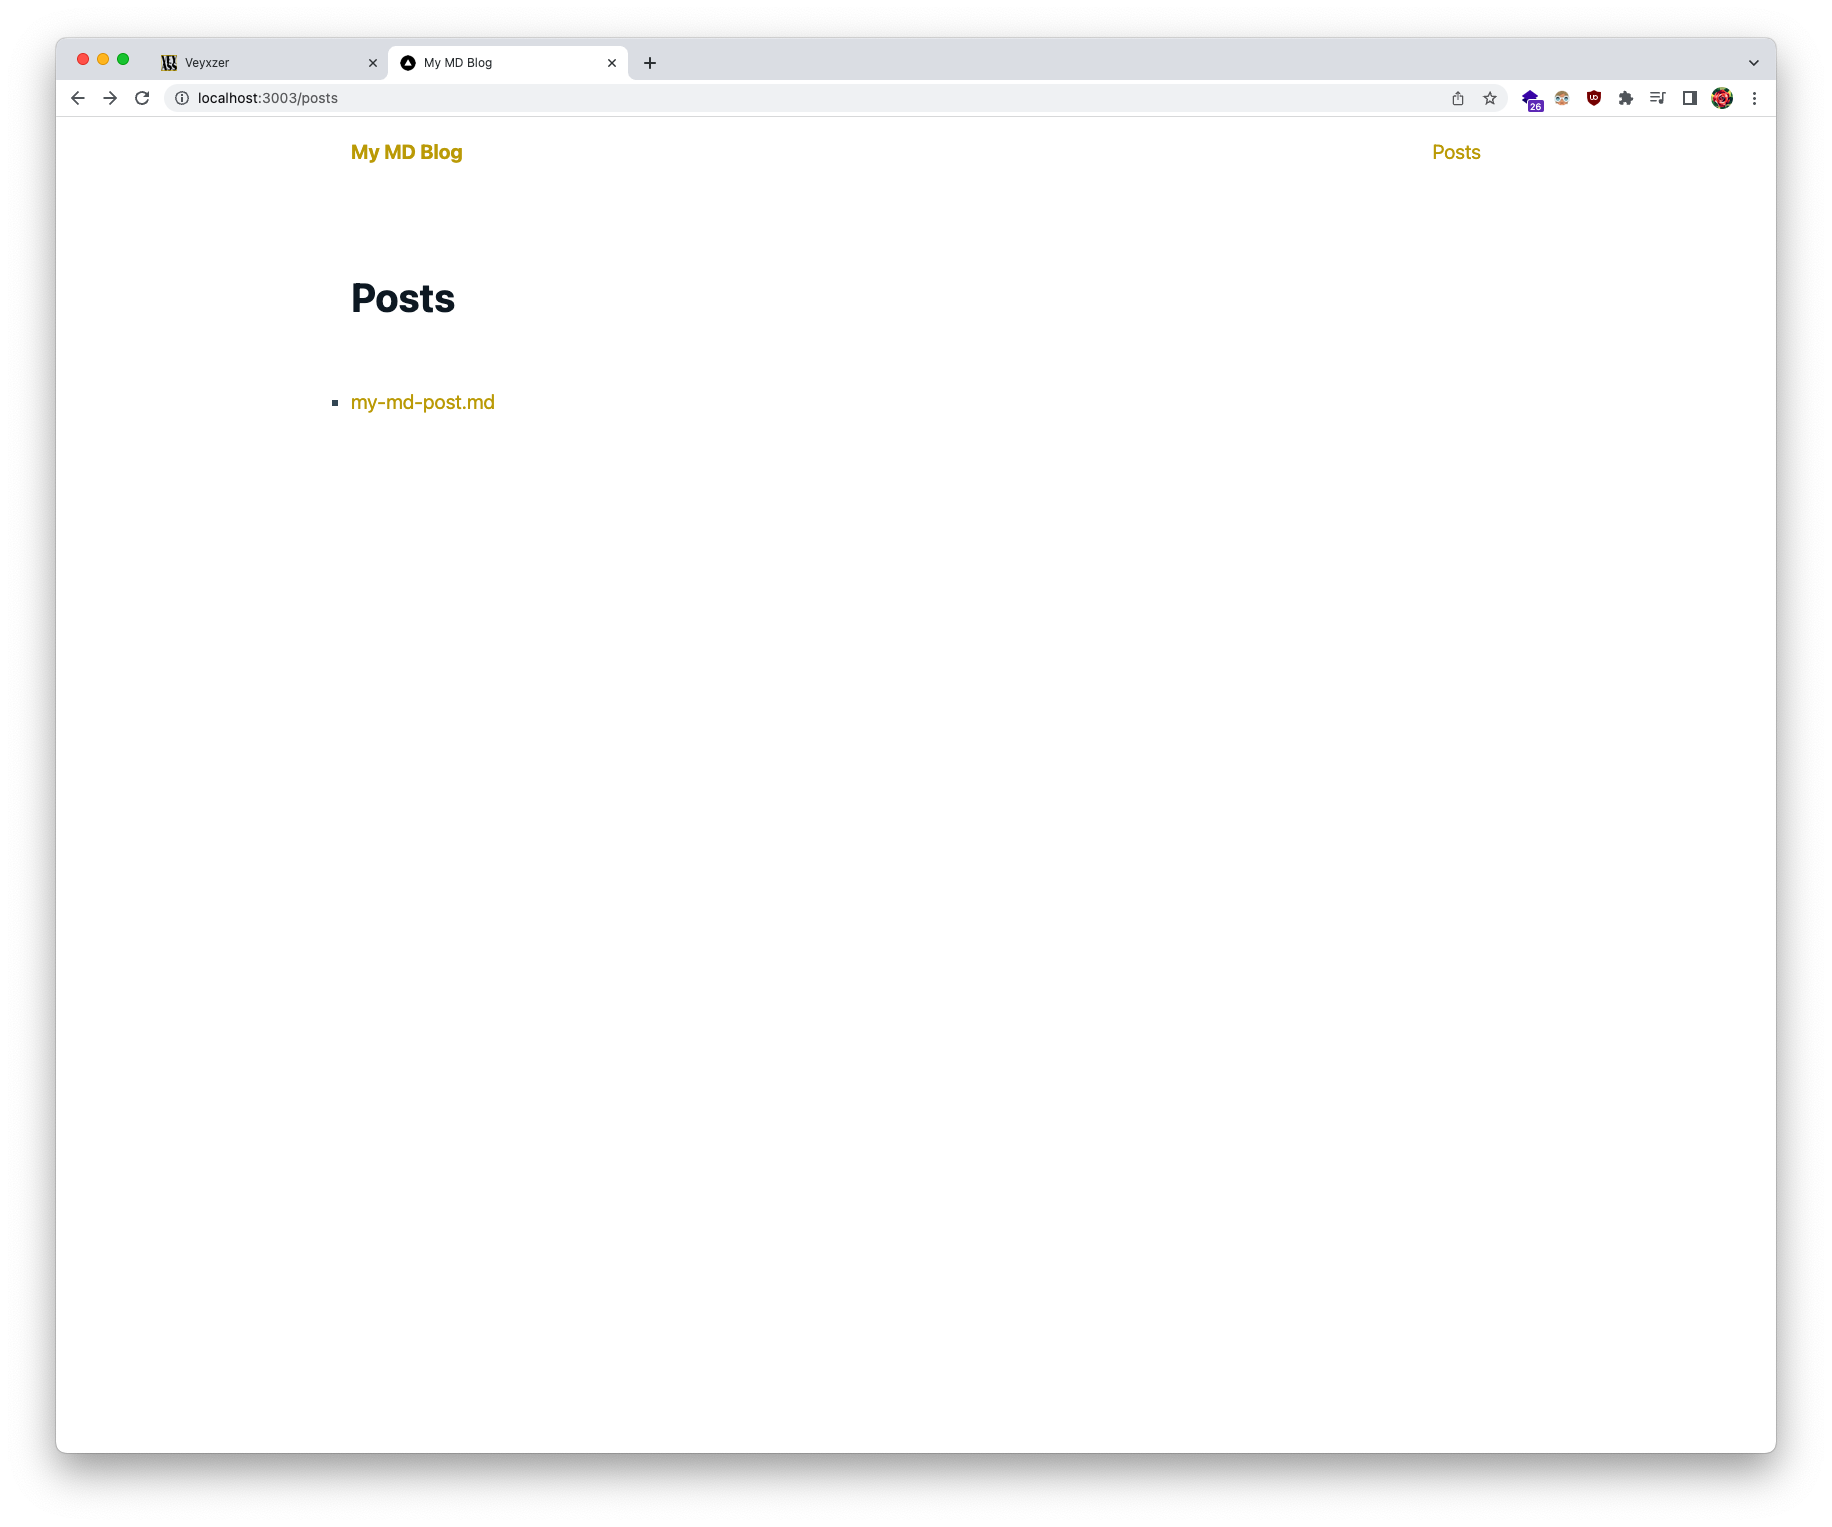
Now you can see that the posts page is populated with the list of posts. However, if you click on any of the posts, you will get a 404 error. This is because we have not created the page for the post yet.

Step 3: Create the Post Page
We want each post to have its own page. So, we will create a src/app/posts/[slug]/page.tsx file. The slug is the name of the Markdown file without the .md extension. The name of the directory is surrounded by square brackets, which means that it is a dynamic route. So, the src/app/posts/[slug]/page.tsx page will be available at the /posts/:slug url. To learn more about dynamic routes, check out the NextJS documentation.
// src/app/posts/[slug]/page.tsx

export default function Post({ params }: { params: { slug: string } }) {
  const slug = params.slug

  return (
    <>
      <div className="container">
        <h1>{slug}</h1>
        <p>Some content</p>
      </div>
    </>
  )
}
As you can see, we can retrieve the slug value from the params object. We will use this slug to retrieve the Markdown file and convert it to HTML.
Step 4: Convert Markdown to HTML
In the previous part, we already built a function to get the metadata and content of a Markdown file. We will use that function here to get the content of the Markdown file and then convert it to HTML.
// src/app/posts/[slug]/page.tsx
import { readMarkdownFile } from "@/lib/mdHandler"

export default function Post({ params }: { params: { slug: string } }) {
  const slug = params.slug

  const { data, content } = readMarkdownFile(`src/app/_posts/${slug}`)

  return (
    <>
      <div className="container">{content}</div>
    </>
  )
}
You will see the content of the Markdown file displayed on the page. But it's not formated nor parsed as HTML. To do that, we will use the remark along with remark-rehype, rehype-highlight and rehype-react packages.
These packages will allow us to parse the Markdown content to HTML and then convert the HTML to React components. This will also add syntax highlight to the code content.
npm i remark remark-rehype rehype-highlight rehype-react
We will add a function in mdHandler.ts to convert the Markdown content to highlighted HTML.
// src/lib/mdHandler.ts

import React from "react"

import { remark } from "remark"
import rehype from "remark-rehype"
import highlight from "rehype-highlight"
import rehype2react from "rehype-react"
import "highlight.js/styles/atom-one-light.css" // highlight.js style to color theme code blocks, you can choose any style you want

...

export function mdToHtml(content: string) {
  const processor = remark()
    .use(rehype)
    .use(highlight)
    .use(rehype2react, { createElement: React.createElement })
  const _content = processor.processSync(content).result
  return _content
}
Note: the theme used for the code blocks is
atom-one-light. You can choose any theme you want. You can find the list of themes here.
Now we can use this function to convert the Markdown content to HTML in the Post page.
// src/app/posts/[slug]/page.tsx
import { mdToHtml, readMarkdownFile } from "@/lib/mdHandler"

...

const htmlContent = mdToHtml(content)

return (
  <>
    <div className="container">{htmlContent}</div>
  </>
)
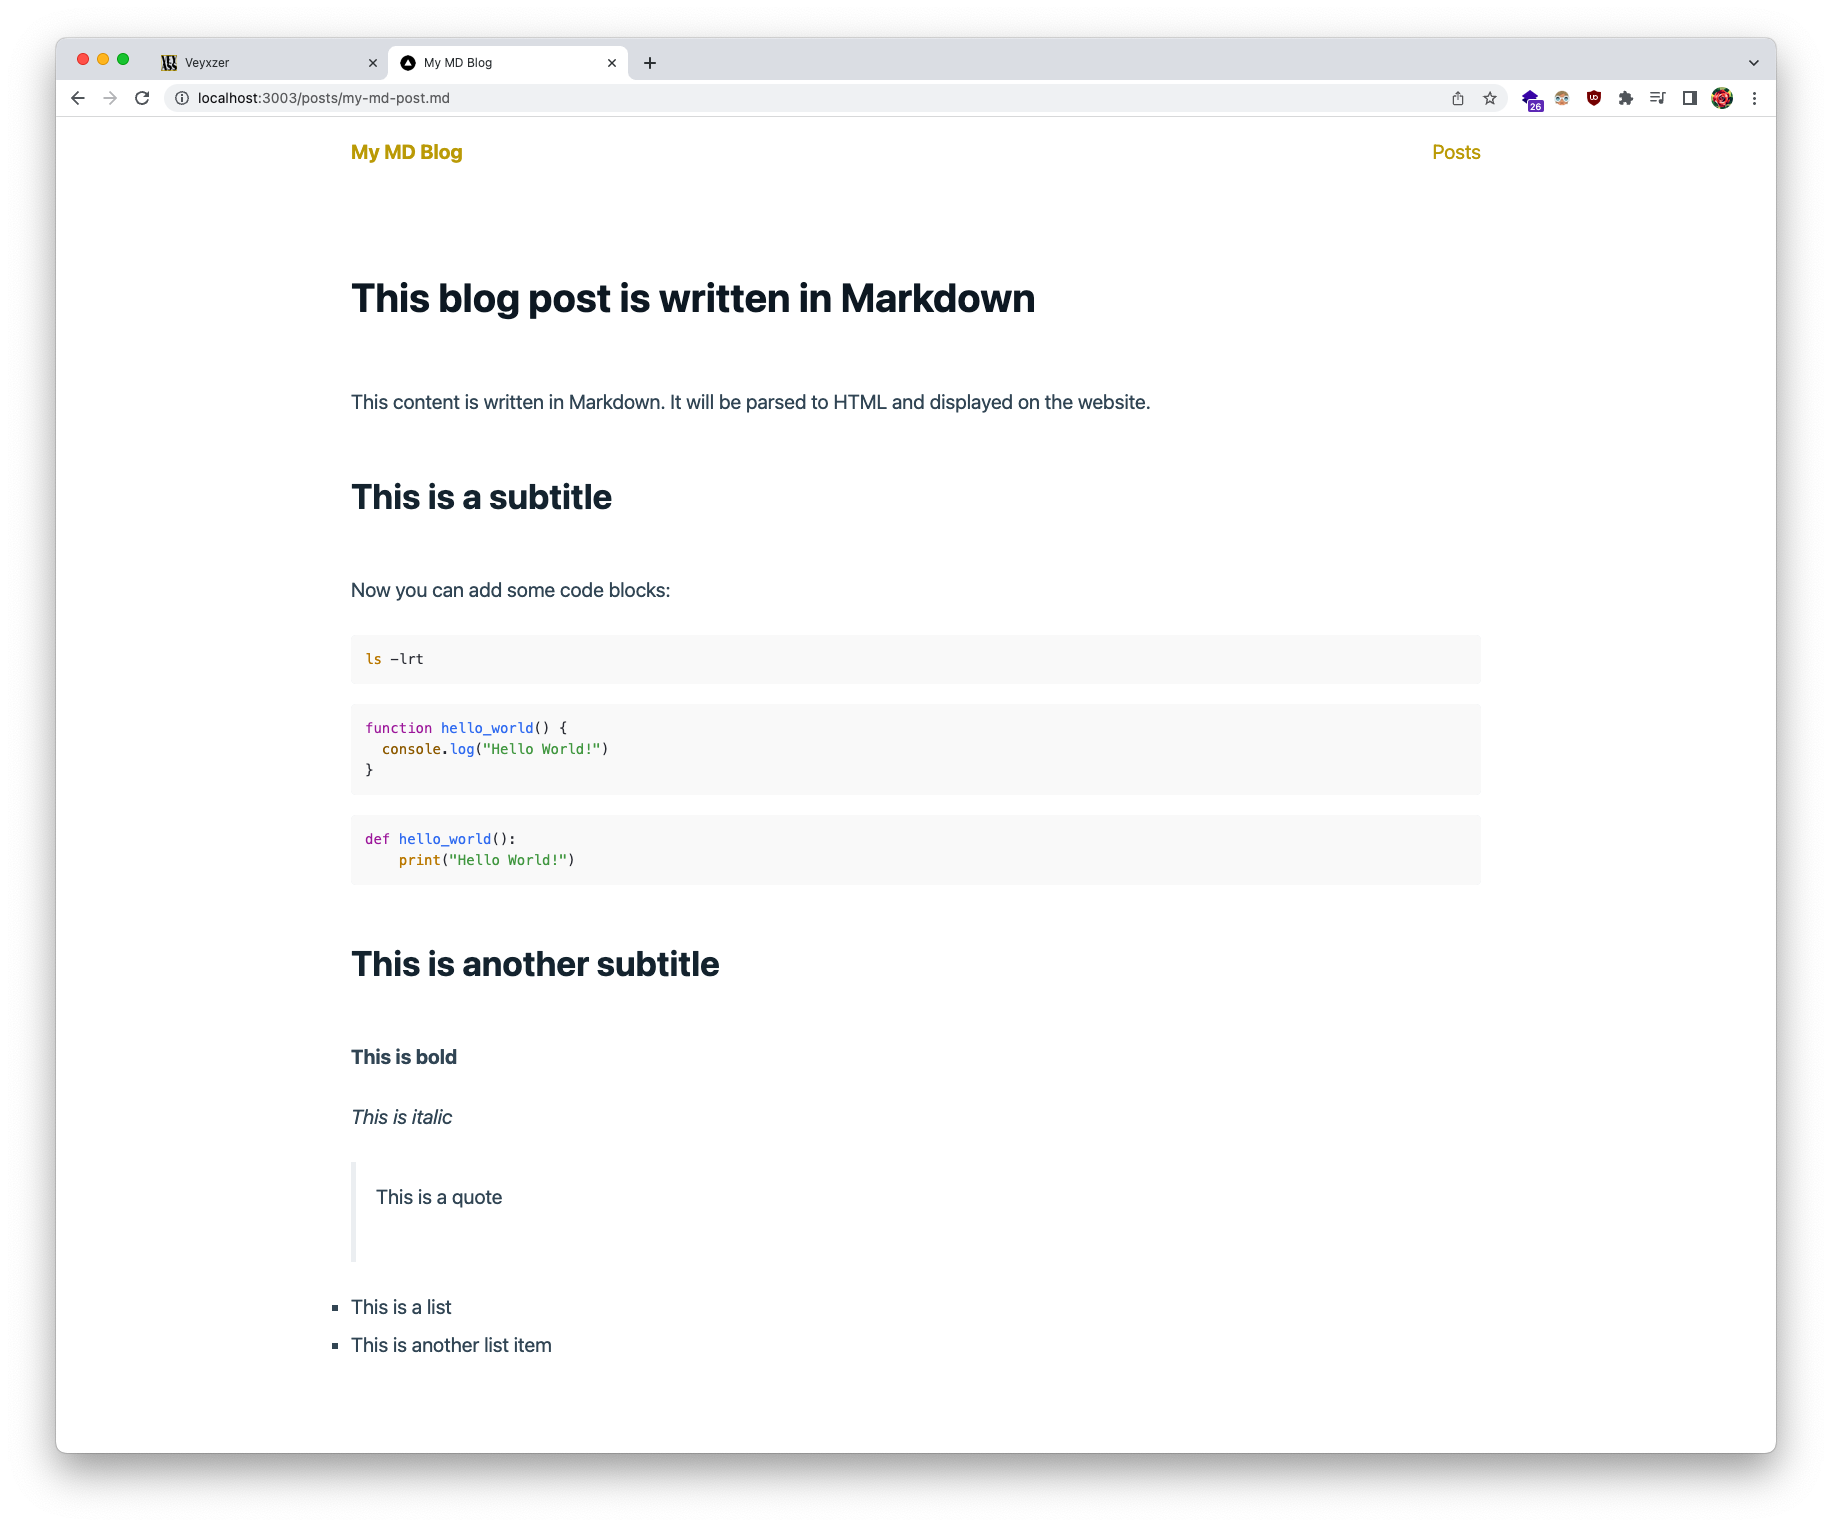
By updating the file my-md-post.md in the src/app/_posts folder, you will see the changes reflected on the website. Try to add titles, subtitles, code blocks (don't forget to add the language name after the first three backticks), etc.
---
author: Jack
title: My MD Post
date: 2021-06-25
tags: [React, NextJS, PicoCSS, Markdown]
---

# This blog post is written in Markdown

This content is written in Markdown. It will be parsed to HTML and displayed on the website.

## This is a subtitle

Now you can add some code blocks:

```bash
ls -lrt
```

```js
function hello_world() {
  console.log("Hello World!")
}
```

```python
def hello_world():
    print("Hello World!")
```

## This is another subtitle

**This is bold**

_This is italic_

> This is a quote

- This is a list
- This is another list item
The result will be:

Step 5: Optimize pages loading
NextJS allows us to generate static paths for dynamic routes. This means that we can generate the HTML pages for each post at build time. This will improve the loading time of the website and make navigation quite literally instant.
To do this, we will add a generateStaticParams function in the src/app/posts/[slug]/page.tsx file. This function will return the list of paths to be generated at build time, which will be used by NextJS to generate the static pages.
// src/app/posts/[slug]/page.tsx
import path from "path"

export function generateStaticParams() {
  const mdFiles = getMarkdownFiles("src/app/_posts")
  const slugs = mdFiles.map((filePath) => path.basename(filePath, ".md"))
  return slugs.map((slug) => ({ slug }))
}
We also need to update the posts/page.tsx file to use the NextJS Link component instead of the HTML a tag. This will allow NextJS to pre-load the next pages making it instant to navigate.
// src/app/posts/page.tsx
import Link from "next/link"

import { getMarkdownFiles } from "@/lib/mdHandler"

export default function Posts() {
  const _mdFiles = getMarkdownFiles("src/app/_posts")
  const slugs = _mdFiles.map((file) => file.replace(".md", ""))

  return (
    <>
      <div className="container">
        <h1>Posts</h1>
        <ul>
          {slugs.map((slug) => (
            <li key={slug}>
              <Link href={`/posts/${slug}`}>{slug}</Link>
            </li>
          ))}
        </ul>
      </div>
    </>
  )
}
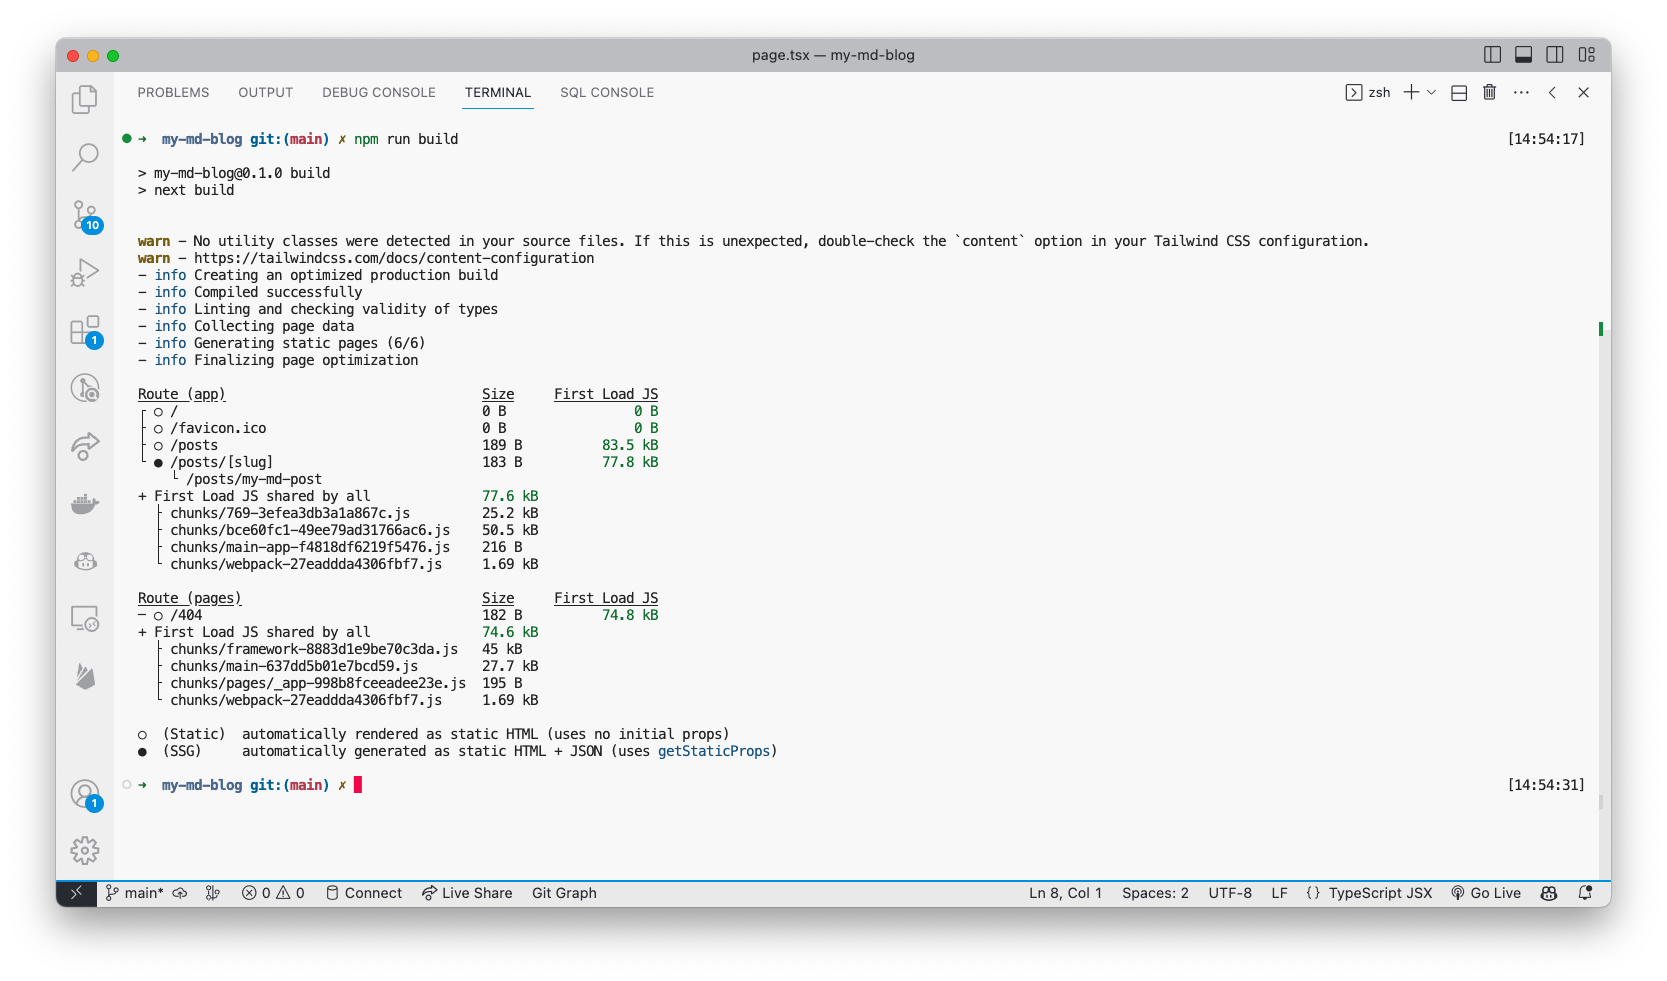
Now if you build the website using npm run build, you will see in the output that the pages are SSG generated. To learn more about SSG, check out the NextJS documentation.

Note: As you can see with the ●,
/posts/[slug]is SSG generated at build time.